Easy Cranberry Pineapple Gelatin: A Festive Tradition Reimagined
The holiday season brings with it a delightful array of cherished traditions, and for many, that includes a vibrant, shimmering gelatin mold gracing the festive table. Forget any preconceived notions of old-fashioned gelatin; the cranberry pineapple gelatin mold is an elegant, refreshing, and surprisingly easy dish that consistently wins over hearts and palates. With its perfect balance of tart cranberries, sweet pineapple, and bright orange zest, this mold offers a brilliant pop of color and a light, zesty counterpoint to the rich, hearty flavors typically found in holiday spreads. It's a make-ahead marvel, allowing you to focus on other culinary delights while this stunning centerpiece patiently sets to perfection.Why a Cranberry Pineapple Gelatin Mold is Your Holiday Must-Have
In the hustle and bustle of holiday meal preparation, finding dishes that are both impressive and stress-free can feel like a quest for the Holy Grail. The cranberry pineapple gelatin mold ticks both these boxes with effortless grace. This delightful creation isn't just a dessert; it often serves beautifully as a refreshing side dish, cutting through the richness of roasted meats like turkey or ham. Imagine your holiday table adorned with a glistening, jewel-toned centerpiece that catches the light and instantly evokes a sense of festive cheer. That’s the visual impact of a well-crafted cranberry pineapple gelatin. Its vibrant hue and smooth, inviting texture make it an instant focal point. Beyond its aesthetics, the flavor profile is what truly sets it apart. The tartness of whole berry cranberry sauce is beautifully mellowed by the sweetness of crushed pineapple, while a hint of orange zest adds an invigorating citrus lift. This unique blend makes it incredibly refreshing, acting as a palate cleanser between bites of heavier fare. Furthermore, this dish offers a wonderful sense of nostalgia. Many of us have fond memories of similar gelatin molds from childhood holidays. This updated version takes that classic comfort and elevates it with sophisticated flavors and a beautiful presentation, making it both familiar and exciting. It’s an ideal choice for entertaining because it requires minimal active preparation time—roughly 20 minutes—but yields maximum impact. The true magic lies in its make-ahead nature; preparing it a day in advance ensures it sets perfectly, freeing up precious time on the actual holiday.Crafting Your Perfect Cranberry Pineapple Gelatin Mold: Step-by-Step
Creating a show-stopping cranberry pineapple gelatin mold is simpler than you might think. With just a few key ingredients and some basic techniques, you'll be well on your way to a holiday showstopper.Essential Ingredients:
- One large package (6 oz) of raspberry gelatin
- One can (15 oz) of crushed pineapple, undrained (the juice is crucial!)
- One can (14 oz) of whole berry cranberry sauce
- Orange zest (from one medium orange)
- Boiling water and cold water
Recommended Equipment:
- A 6-cup gelatin mold or a 9-inch square baking dish (or any 2-quart dish)
- A large heatproof bowl
- A whisk
- Cooking spray
- A microplane grater (for fine zest) or a vegetable peeler (for garnish)
The Preparation Process:
- Prepare Your Mold: Lightly coat your chosen gelatin mold or baking dish with cooking spray. This crucial step ensures an easy release later.
- Dissolve the Gelatin: In your large heatproof bowl, combine the raspberry gelatin powder with the specified amount of boiling water (usually 2 cups, but check package instructions). Whisk thoroughly until the gelatin is completely dissolved, leaving no granules.
- Cool and Combine: Add an equal amount of cold water (typically 2 cups) to the dissolved gelatin, then stir in the undrained crushed pineapple, the whole berry cranberry sauce, and the finely grated orange zest. Mix gently until all ingredients are well combined. It’s important to ensure the cranberry sauce is fully incorporated and broken up slightly.
- Pour and Chill: Carefully pour the gelatin mixture into your prepared mold or baking dish. Cover it tightly with plastic wrap and transfer it to the refrigerator. This is where patience is key: allow it to chill for at least 6 hours, but ideally, prepare it a full day in advance for the best, firmest set.
- The Grand Unveiling (Unmolding): When you're ready to serve, carefully submerge the bottom of the mold in a pan of hot (not boiling) water for about 30 seconds. This helps loosen the edges. Place your serving platter on top of the mold, then confidently flip the mold over onto the platter. The gelatin should slide out gracefully. If it doesn't release immediately, you can re-dip it for a few more seconds.
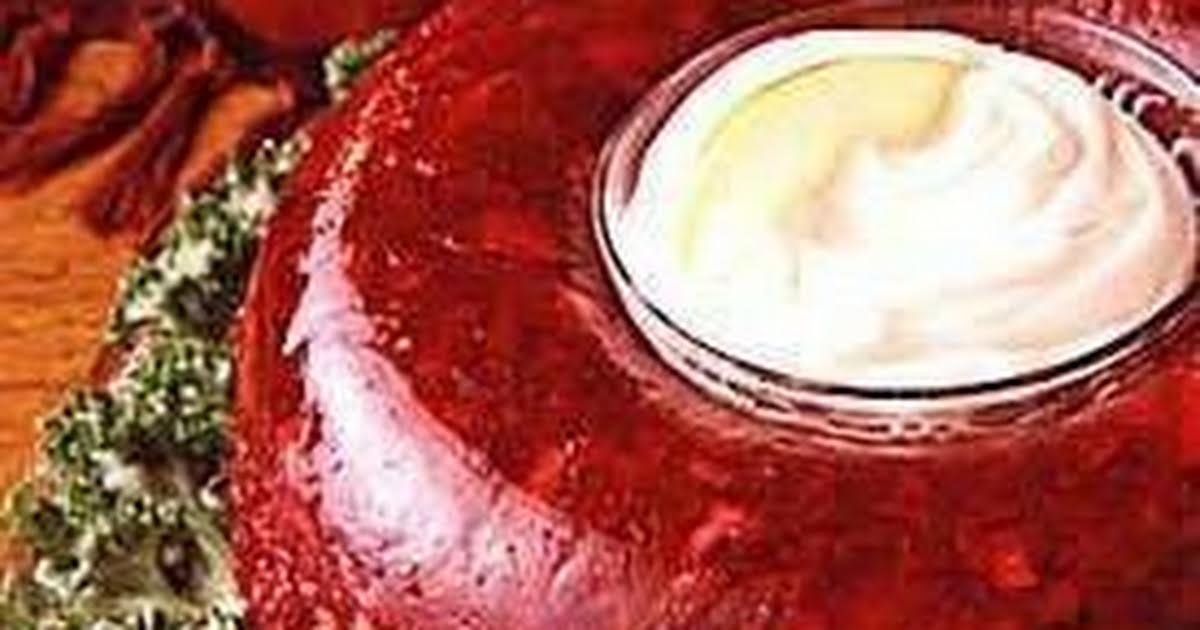
- Garnish and Serve: Serve as is, or enhance its beauty with a dollop of freshly whipped cream, extra orange zest, a few fresh whole cranberries, or a sprig of mint.
Crucial Tip: Always use canned crushed pineapple, not fresh pineapple, in your gelatin mold. Fresh pineapple contains enzymes (specifically bromelain) that can prevent gelatin from setting properly, leaving you with a liquidy mess instead of a firm, shimmering mold. This is a common pitfall that’s easily avoided by sticking to the canned variety.
Expert Tips for a Flawless Cranberry Pineapple Gelatin Mold
Achieving gelatin perfection is within reach with a few insider tricks and insights. These tips will help ensure your cranberry pineapple gelatin mold is not just delicious, but also visually stunning and perfectly set.- The Power of Make-Ahead: As highlighted, preparing your gelatin mold a day in advance is perhaps the most valuable tip. This extended chilling time ensures the gelatin sets to its optimal firmness, providing that satisfying jiggle without any risk of being too soft. For even more detailed strategies on perfecting your make-ahead approach, see our guide on Mastering Cranberry-Pineapple Gelatin: Make-Ahead Tips.
- Choosing Your Vessel: A 6-cup capacity gelatin mold is ideal for this recipe, yielding roughly 5 cups of deliciousness. However, don't feel limited. A 9-inch square baking pan or any other 2-quart baking dish works beautifully and offers a different, perhaps more casual, presentation. Just be sure to coat it well with cooking spray.
- Avoid Metal Bowls for Mixing: While not universally true for all gelatin types, some chefs recommend avoiding metal bowls for the initial mixing of the gelatin and liquids. Metal can sometimes conduct heat away too quickly or, in rare cases, react slightly with certain ingredients, potentially interfering with the setting process. A glass or ceramic bowl is a safe bet.
- Garnishing Glory: Elevate your presentation with thoughtfully chosen garnishes.
- Whipped Cream: A simple homemade whipped cream (heavy cream + a touch of granulated sugar) adds a luxurious touch and creamy contrast.
- Orange Zest: Use a microplane to finely grate zest directly into the mixture for intense flavor. For a more decorative touch, a vegetable peeler can create larger, elegant strips of zest for garnishing the top.
- Fresh Cranberries and Mint: A few fresh whole cranberries offer a burst of color and a natural look, while a sprig of fresh mint adds a touch of vibrant green and a refreshing aroma.
- Troubleshooting Unmolding: If your mold doesn't immediately release after the hot water dip and flip, don't panic. Gently tap the serving dish a few times, or carefully slide a thin, wet knife along the edges (if using a baking dish) to help break the suction. A second, brief dip in hot water can also work wonders. Patience is key!
- Storage: Leftovers, if there are any, can be stored in an airtight container in the refrigerator for up to 3 days. The texture might soften slightly over time, but the flavor will remain delicious.
